Tips For Flooring Installation
If you were seeking tips for flooring installation, then you are in luck! In this post, we will give you some actionable tips and tricks for your installation job.
Tired of your old carpet or wanting to replace outdated floors with new ones? Then rest assured. You have come to the right place! In this post, we will go over some helpful tips to help make sure your new floor installation goes as smoothly as possible and saves you time. Let’s get right into it!

Important Factors For Installing Any Floor
Equipment and Tools
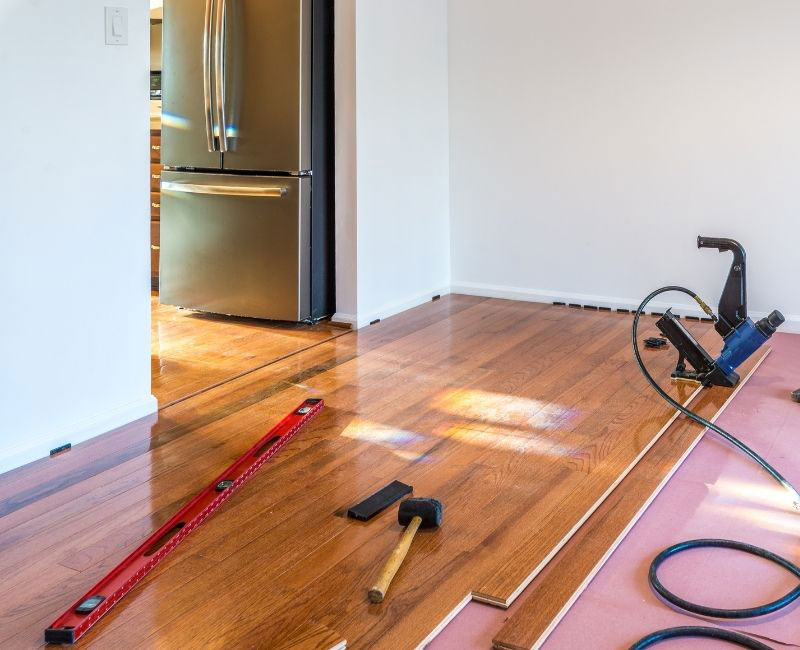
Before you pull up your old floor, make sure you go to the store to get the correct equipment for your project. You can look in stores such as Lowes or Home Depot, and you are sure to find a lot of what you need. In addition, stores such as Flooring Pros are excellent for assisting with installation and have a variety of products too. So don’t forget to give them a call before you start!
The tools that will make your installation go smoother are:
- Carpenter’s Square – To mark accurate and straight cuts.
- Staple remover – If you are removing old carpet, this will make removing staples from subfloor so much easier.
- Tapping Block – This tool will help you safely install hardwood floors without damaging the floor boards.
- Table Saw – A table saw will help you make precise cuts.
- Trim Cutter – It’s easier to slide under door trim, than cut around it.
Don’t forget to buy more flooring than you need, just in case you mess up a cut.
Ripping Up the Old Floor
Here comes the fun part of this project, tearing up your old floor! Below are a few tricks to speed the process up.
- Remove the trim first before removing the floor.
- For carpet use a box cutter and cut the carpet into small sections. This will make the carpet easier to pull up and lighter to carry out of the house.
- The fastest way to remove carpet nail stripers is a shovel. Just slam the shovel into the strips and they will break apart. You will have to remove nails with a hammer after this process.
- To remove old hardwood flooring quickly, cut boards into smaller pieces about 1 to 2 feet apart and then use a crowbar to pry the wood up.

Clean and Evaluate Subfloor
Once you’ve torn up the old floor, now it’s time to clean it all up. During this time, make sure the floor is clear from any debris because this can affect the new floor going down.
After clearing the floor, check for any damage to the subfloor and check to see if the floor is even. If the floor is damaged or rotten, you will need to replace it.
PRO TIP: To check if the floor is level, use a leveling tool and mark the slants of the floor every 2 feet. If the floor is uneven, it’s best to call a professional like Augusta Flooring Pros. You can do the work to level the floor but it will be very difficult and time consuming.
Laying the Floor
After cleaning and leveling the floor, you are now able to start laying the floor. Here are tips to make sure your floor installation goes well.
Just be aware, different floor products require different methods of installing. Vinyl Plank Flooring for example will be a different process than installing laminate flooring or tile. Use your own discretion if you choose to do it yourself!
- Evaluate the starting point – Flooring should run perpendicular to the door and the starting point should be on the opposite wall of the door.
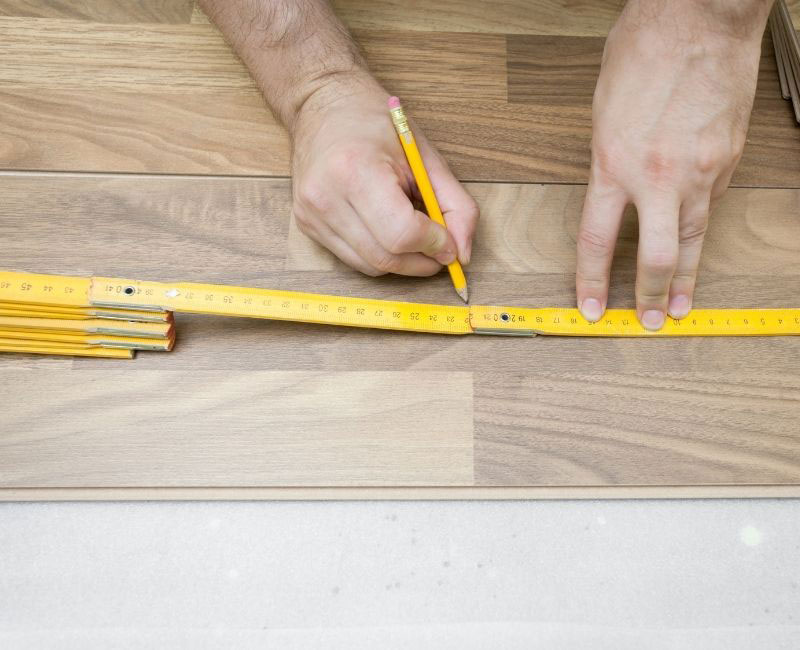
- Measure the room and divide by the width of your boards – Most rooms are not going to come out to a perfect number, which means you are going to have to make a difficult cut at some point. It’s better to start with the difficult cut than finish and have no room to install the last row.
- Leave space! – Give space between the board and the wall because boards will expand during the warmer months. If you don’t give the boards space, the boards will buckle and cause damage to multiple boards.
- Lay and attach boards on the ends first, then attach boards on the side (the tapping block comes in handy for this).
- Use multiple boxes at one time to make sure you get the best mix of color.
Laying the Trim
Once you’ve installed the floors, it’s time to install the final piece of the project. Here are some tips to help save time and avoid stress when cutting trim.
- Always cut and lay trim in 45 degree angles. The trim lays smoother together with angles and leaves little to no gaps.
- If there are gaps in trim, don’t stress, caulk will fill in the gap and you’ll never know it was there.

PRO TIP: If any of this seems a little too difficult, it’s best to call a professional service. In doing so, you will see the best results from your flooring installation project. We really love Flooring Pros of Augusta, GA. They have a diversified selection of flooring products and provide installation as well!
Conclusion
Laying hardwood floors can be difficult and stressful but hopefully these tips will help you save time. If you are unsure about your ability to complete the floor or just don’t have enough time to work on them, reach out to professionals. Flooring Pros of Augusta, Georgia is a great company that offers both flooring sales and products and installation.
If you already have materials, you can still call Flooring Pros and they will install for you. To reach out to them, please visit this page here. In addition, you can visit them in their showroom. The address is 246 Bobby Jones Expy suite A2, Augusta, GA 30907. You can take a look at their business listing here for information on how to get to Flooring Pros from wherever you are.
We hope that these tips for flooring installation have been helpful and wish you the best.
The post Tips For Flooring Installation appeared first on Flooring Pros.
source https://flooringprosaugusta.com/tips-for-flooring-installation/?utm_source=rss&utm_medium=rss&utm_campaign=tips-for-flooring-installation

No comments:
Post a Comment